Installing vinyl plank flooring on concrete is one of the most practical and stylish ways to upgrade any space, whether it’s a home, office, or commercial area. Not only does vinyl offer durability and ease of maintenance, but it also allows you to achieve modern aesthetics with minimal effort.
If you’re exploring vinyl flooring on cement, how to install vinyl plank flooring on concrete, or a comprehensive solution for vinyl floor over concrete, this guide provides step-by-step instructions, tips, and guidance so that your project is a success.
Why Choose Vinyl Plank Flooring on Concrete?
Choosing vinyl plank flooring on concrete combines functionality and style. Concrete floors are stable, strong, and long-lasting, providing the perfect base for vinyl installation. With vinyl, you gain water resistance, easy maintenance, and a sleek finish that works for any interior. Additionally, installing vinyl plank flooring on concrete allows for quick updates without the cost or mess of tearing out old flooring. It’s an ideal solution for living rooms, kitchens, basements, or office spaces that demand durability and style.

Pre-Installation: Preparing the Concrete Floor
Preparation is critical to make certain your vinyl planks lay flat, last longer, and look professional.
Check for Moisture:
Concrete naturally absorbs moisture, which can damage vinyl plank flooring over time. Use a moisture meter or the plastic sheet test to thoroughly inspect the concrete. If necessary, apply a moisture barrier or sealant to protect your vinyl floor over concrete from water damage and mould, especially in humid climates like Singapore, where vinyl flooring Singapore is a popular choice for durability and water resistance..
Level the Surface:
Uneven surfaces can cause planks to lift or gaps to form. Fill cracks and holes with a self-levelling compound and sand down rough spots to create a smooth, flat base. Proper levelling provides a flawless finish for your vinyl flooring on cement and reduces future maintenance issues.
Clean Thoroughly:
Dust, debris, and residues can interfere with adhesion. Sweep, vacuum, and mop the floor, then allow it to dry completely. A clean concrete base guarantees better adhesion and prevents bubbles or peeling when installing vinyl plank flooring on concrete.
Acclimate the Planks:
Vinyl responds to changes in temperature and humidity. Leave the planks in the installation room for at least 48 hours to acclimate to the environment. This step prevents expansion or contraction after installation, which is especially important when putting vinyl flooring on cement in humid environments.
Materials Needed for Vinyl Plank Flooring on Concrete
Selecting the right materials is essential for a successful installation and long-lasting results. Choosing the appropriate vinyl plank flooring, underlayment, and accessories ensures the floor looks great, functions well, and stands the test of time.
1. Vinyl Planks: Opt for high-quality planks suitable for concrete subfloors, such as wood vinyl flooring or stone vinyl flooring. Popular choices include click-lock, glue-down, or peel-and-stick types. Each type has specific installation requirements, so select according to your skill level and project needs.
2. Underlayment or Vapour Barrier: While some vinyl planks come with pre-attached underlay, most installations benefit from a separate foam underlayment or moisture barrier. This layer reduces noise, adds comfort, and protects against moisture seeping from the concrete.
3. Adhesive: Different types work best depending on whether the vinyl is glue-down or loose-lay:
- Acrylic-based Adhesives: Ideal for residential spaces; easy to work with and water-resistant.
- Pressure-Sensitive Adhesives: Good for high-traffic areas, allowing repositioning during installation.
- Polyurethane Adhesives: Strong bond for commercial spaces or areas with heavier footfall.
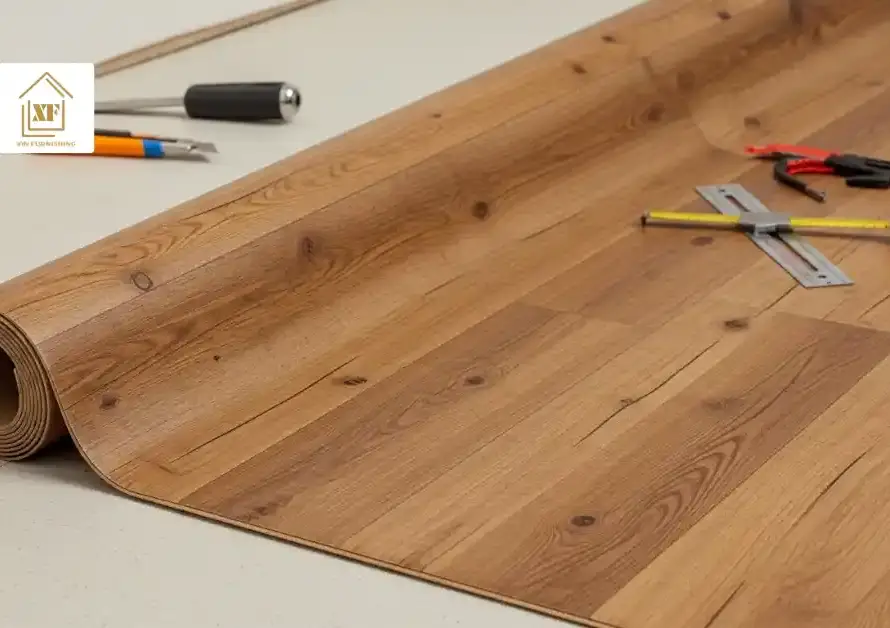
4. Tools: Make sure you have a utility knife, straightedge, measuring tape, spacers, tapping block, roller (for glued planks), and cleaning supplies. Proper tools make the installation smoother and more precise.
5. Concrete Levelling Compound: Uneven or cracked concrete can affect plank stability. Using a levelling compound creates a flat, uniform surface, essential for preventing gaps and movement in your vinyl flooring on cement.
Step-by-Step Guide on Installing Vinyl Plank Flooring on Concrete
The installation method depends on whether you’re using click-lock planks or glue-down planks. Each has advantages, but the key is careful preparation and planning.
- Plan Your Layout:
Start by measuring the room and determining the direction of the planks. Running planks parallel to the longest wall usually makes the room appear larger. Stagger the joints to create a natural look and avoid a uniform, artificial pattern.
- Start Laying Planks:
Begin along a straight wall, leaving a small expansion gap around the edges. Click-lock planks snap together effortlessly, while glue-down planks require a consistent layer of adhesive to secure them in place. Take your time to make sure the alignment and tight seams.
- Cutting and Fitting:
Trim planks to fit corners, edges, or around obstacles using a utility knife or vinyl cutter. Precision here avoids gaps and gives a professional finish. For tricky areas, measure twice and cut once to reduce mistakes.
- Finishing Touches:
Install baseboards or quarter-round trims to cover expansion gaps. Walk over the floor to press down any edges that didn’t fully settle. Proper finishing gives your floor a seamless, polished look and enhances its lifespan.

Maintaining Your Vinyl Floor Over Concrete
Proper maintenance makes sure that your vinyl flooring on concrete remains durable, attractive, and long-lasting. Regular cleaning with a soft broom or vacuum removes dust and debris that can scratch the surface, while damp mopping with a mild, pH-neutral cleaner keeps it fresh without damaging the finish. Avoid harsh chemicals or abrasive tools, as these can wear down the protective layer. Placing felt pads under furniture and using area rugs in high-traffic zones helps prevent dents and scratches. Additionally, promptly wiping up spills reduces the risk of staining or moisture damage. By following these simple care routines, your vinyl flooring not only retains its aesthetic appeal but also maximises its lifespan, making it a practical and stylish choice for any concrete-based room.
Tips for Installing Vinyl Flooring on Cement
Expert tips make installing vinyl plank flooring on concrete simpler and give you long-term satisfaction:
- Use an Underlayment if Needed: Some planks have pre-attached padding, while others benefit from a thin foam underlayment. It adds cushioning, reduces noise, and compensates for minor subfloor imperfections, making your vinyl feel more comfortable underfoot.
- Check Floor Flatness: The concrete should be flat within 3/16 inch over a distance of 10 feet. High or low spots can cause planks to lift or shift. Use a long, straight edge to inspect the floor and apply levelling compound where needed.
- Maintain Room Conditions: Keep the room at a stable temperature throughout the installation process. Avoid extreme heat or cold, as it can affect the flexibility and adhesive effectiveness of vinyl. Stable conditions make a smooth and even installation.
- Follow Manufacturer Guidelines: Every vinyl product has specific recommendations for glue, acclimation, or plank spacing. Following these steps would provide you with warranty protection and a flawless final result.
Conclusion
Installing vinyl plank flooring on concrete is a practical and stylish choice for any space. By selecting the right materials, preparing the subfloor properly, and following careful installation steps, you can enjoy a durable, low-maintenance, and visually appealing floor. Whether you’re exploring how to put vinyl flooring on concrete, considering vinyl floor over concrete, or planning a complete renovation, these tips provide a professional finish. Proper attention to preparation, layout, and high-quality materials not only enhances the appearance of your floor but also increases its longevity, making your space comfortable and inviting for years to come.
FAQ
1. Can vinyl plank flooring be installed directly on concrete?
Yes, if the concrete is clean, dry, and level. A moisture barrier may be required in humid or damp areas to prevent damage.
2. Do you need an underlay for vinyl flooring?
It depends on the type of plank. Some planks come with pre-attached underlay, while others benefit from an additional foam layer for comfort and noise reduction.
3. Do you need to put anything under vinyl plank flooring on a concrete subfloor?
A vapour barrier or underlayment is often recommended to prevent moisture damage and enhance comfort, especially for glue-down planks.
4. Do I need foam under vinyl flooring?
Optional for pre-attached planks. Foam improves comfort, reduces noise, and helps with minor floor imperfections.
5. How long does vinyl flooring last?
High-quality vinyl floors can last 15 to 25 years with proper maintenance, making them a cost-effective and long-term investment.
6. How flat does a concrete floor need to be for vinyl plank?
Ideally, concrete should be level within 3/16 inch over a distance of 10 feet. Any unevenness can cause the planks to lift or develop gaps over time.