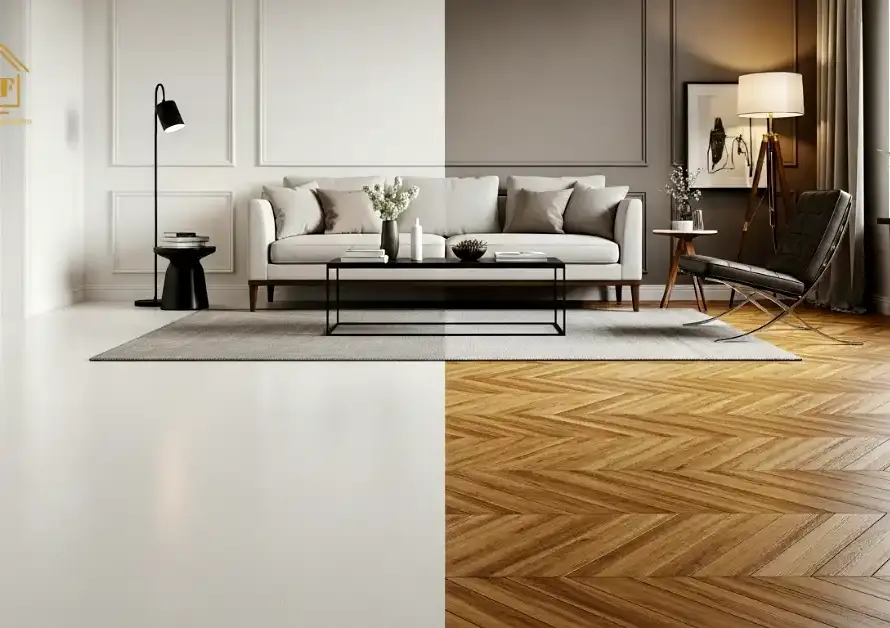
Your vinyl floor looked perfect on day one. Smooth. Shiny. Not a scuff anywhere.
Then real life moved in. Singapore’s humidity never really lets up. Grit from outside sticks to every pair of shoes. A little curry or soy sauce spills and sits too long before anyone notices. Small things, but they add up fast, and vinyl shows it sooner than you’d think.
The tricky part? Cleaning it wrong can do more harm than the mess itself. Too much water, a steam mop, or a rough scrub, and you’re left with dull patches or a floor that just won’t shine the way it used to.
But keeping vinyl looking new isn’t hard once you know what actually works. A few simple habits, done consistently, are all it takes. This guide walks you through the exact steps on how to clean vinyl floors, the tools you’ll need, and how to handle those stubborn stains without wrecking the surface underneath.
What should you use to clean vinyl floors
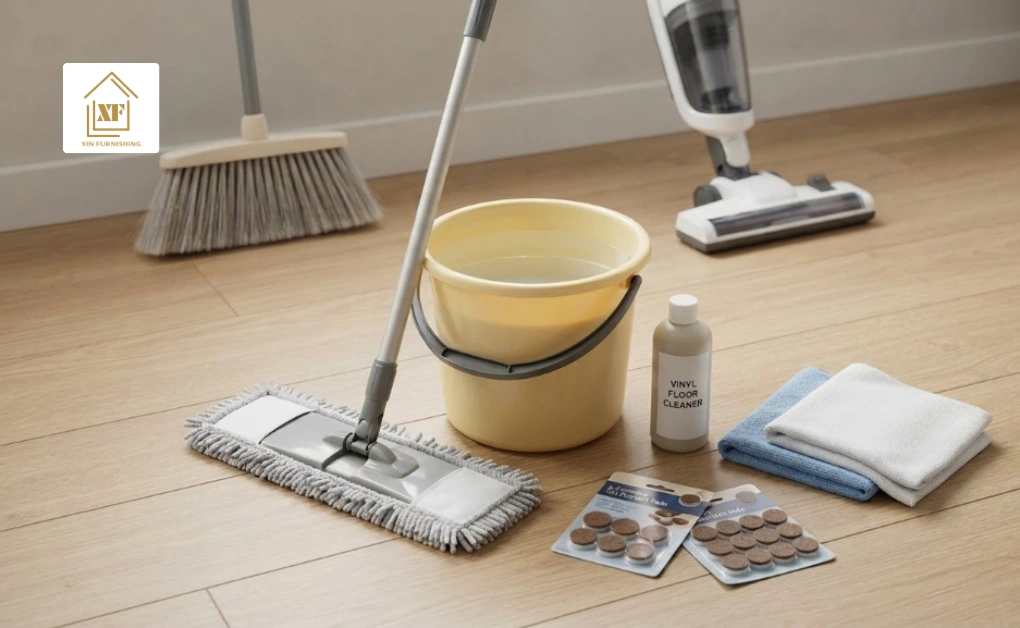
You don’t need anything fancy for this. Most of it, you probably already have at home.
- A soft broom or a vacuum with a hard-floor setting. If your vacuum has a spinning brush, turn it off. It can scratch the floor.
- A vinyl floor mop, ideally microfiber. It holds water better than a regular mop, so your floor doesn’t end up soaking wet.
- A vinyl floor cleaner. Look for one labelled pH-neutral, or just mix warm water with a little mild dish soap. Either works fine as a gentle vinyl cleaner for regular use.
- Two clean microfiber cloths. One for wiping up stains, one for drying the floor after you mop.
- Felt pads for furniture legs. You won’t need these for cleaning, but grab some anyway, they help protect the floor once it’s clean.
A few basics, nothing more. Once you have these ready, you’re set to start. Not sure which product to grab? Check out our guide on best cleaning products for vinyl floors (and a few to avoid).
How to Clean Vinyl Floors: Step-by-Step
Now that you’ve got your tools, let’s get into it.
1. Remove Furniture and Clear the Floor Area
Move small furniture and rugs out of the way first. If something’s too heavy to lift, slide it gently instead of dragging it across the floor, better yet, place a folded towel or furniture slider under each leg so it glides without scratching. Unplug any lamps or appliances with cords resting on the floor, and tuck cables out of the way so you’re not mopping around them. If you have rugs with rubber backing, check underneath before you start; that’s often where the worst dirt and yellowing hides.
2. Sweep or Vacuum Vinyl Flooring First
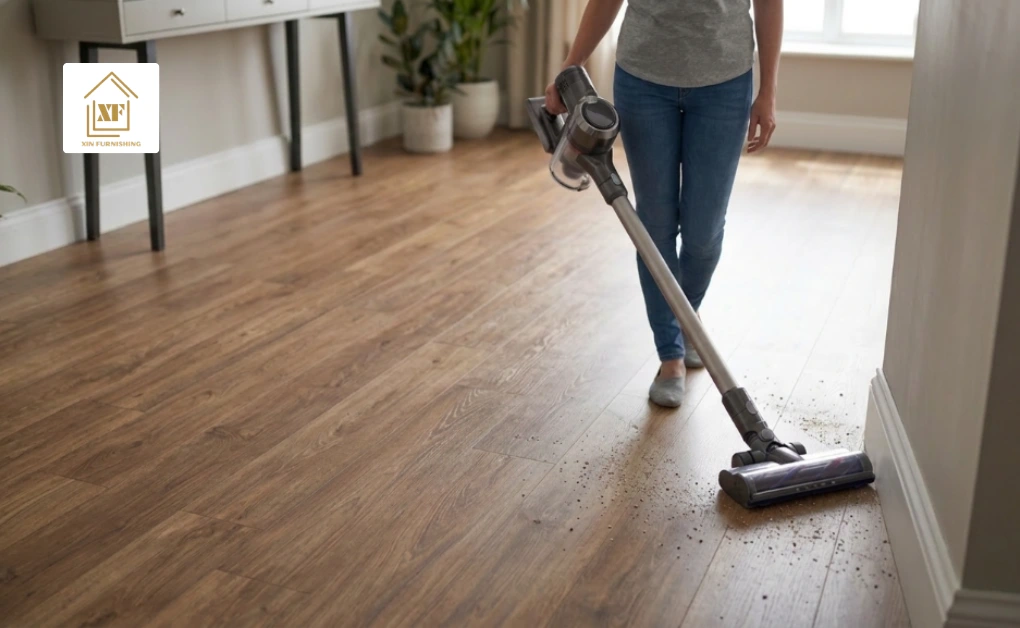
Always start dry. Sweep with your soft broom, or vacuum with the brush turned off. Work in one direction rather than random strokes, it’s more effective at actually collecting dirt instead of scattering it. Get into the corners and along the edges too, that’s usually where dirt builds up the most, along with skirting boards and under any furniture you couldn’t move. Skip this step, and you’ll just end up pushing dirt around later instead of picking it up, and any grit left behind gets ground into the surface once you start mopping.
3. Mop Vinyl Floors with a Damp Microfiber Mop
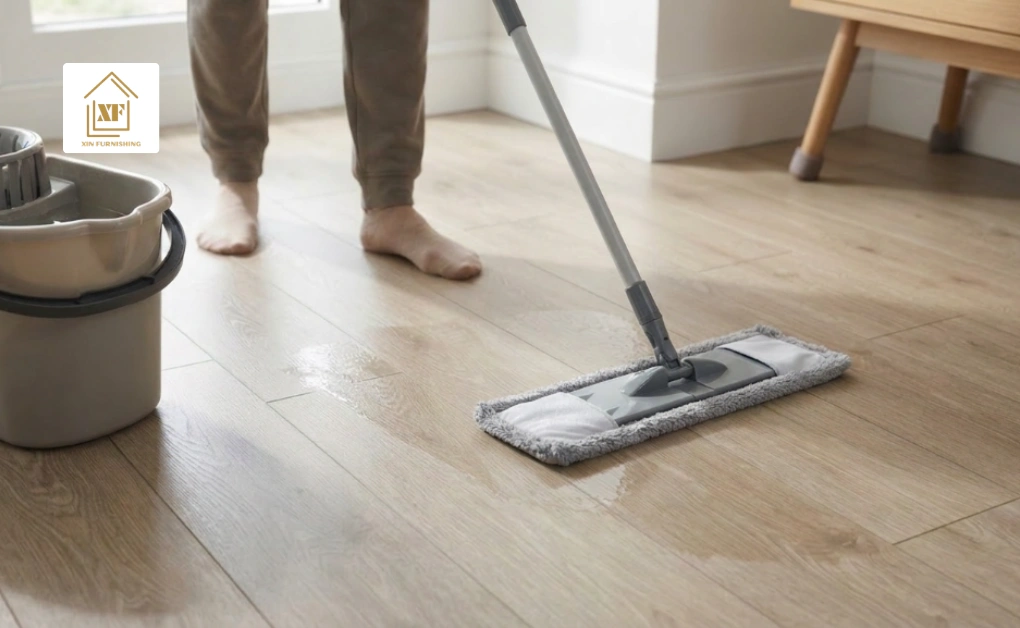
Fill your bucket with lukewarm water, not hot, hot water won’t clean any better and can affect the finish on some vinyl. Dip your mop in the solution and wring it out well until it stops dripping. It should feel damp, not soaked, since extra water can sneak into the seams of the floor and weaken the glue holding it down.
- Mop in small sections, roughly one room corner at a time
- Follow the direction of the planks, not diagonal or circular strokes, it helps hide streaks and gives a more even clean
- Rinse and re-dip your mop every few sections
- Change the water once it looks cloudy or grey, mopping with dirty water just redistributes grime instead of removing it
4. Spot Clean Stubborn Stains on Vinyl Flooring
If you notice a stain or sticky spot, don’t scrub it right away.
- Let your cleaning solution sit on the mark for thirty seconds to a minute first, this gives it time to loosen before you touch it
- Blot rather than scrub, scrubbing can dull the surface finish around the stain even if it lifts the mark itself. We’ll cover exactly how to treat different stains a bit further down
5. Dry the Vinyl Floor After Cleaning
Once you’re done mopping, go over everything with a dry microfiber cloth. It only takes a minute, and it keeps water spots from forming so your floor stays shiny longer.
- Dry within about ten to fifteen minutes of mopping
- Pay extra attention to edges near skirting boards and doorways, water tends to pool there
- Avoid walking on the floor or putting furniture back until it’s fully dry to the touch, a damp floor can leave faint footprints or smudges once it dries.
How to Remove Stains from Vinyl Flooring
Some stains don’t come off with a regular mop. Here’s how to treat the tricky ones without scratching your floor or making things worse.
- How to Remove Food Stains from Vinyl Floors (Curry, Soy Sauce, Kopi): Wipe up as much as you can with a dry cloth first. Then dab the spot with a cloth dipped in warm water and a little dish soap. Let it sit for a minute, then wipe clean. Old stains that have already set in may need a few rounds of this before they fully lift.
- How to Remove Ink and Grease Marks from Vinyl Flooring: Dip a cloth in a small amount of rubbing alcohol and dab gently. Don’t rub in circles, just press down and lift straight up. Once the mark fades, wipe the spot with a damp cloth to clean up anything left behind.
- How to Remove Scuff Marks from Vinyl Floors: These usually come from shoes or furniture dragging across the floor. Rub the mark gently with a cloth dipped in rubbing alcohol. A clean tennis ball works well too, just rub it over the mark in small circles.
- How to Remove Yellow Stains from Vinyl Flooring: This often shows up under rugs with rubber backing, or in spots that get a lot of sun. Mix a little baking soda with water to make a paste, spread it over the yellow area, let it sit for a few minutes, then wipe clean.
Before trying any of these, test it on a small, hidden part of the floor first. What works on one stain might be too strong for another.
Things to Avoid When Cleaning Vinyl Floors
A few cleaning products and everyday habits can slowly damage your vinyl flooring without you noticing. Avoid these common mistakes to keep your floors looking their best for years.
- Bleach and Ammonia: These harsh chemicals can dull the protective surface and cause discolouration over time.
- Wax or Polish: Most modern vinyl flooring already has a protective finish. Applying wax or polish can leave a sticky residue and make the floor slippery.
- Abrasive Scrubbers or Scouring Pads: Rough cleaning tools can scratch the surface, especially on textured or matte vinyl flooring.
- Steam Mops: The high heat from steam mops can weaken the adhesive beneath the flooring, causing planks or tiles to lift or warp.
- Using Too Much Water: A soaking wet mop allows water to seep into seams and edges, which may damage the flooring over time. Always use a damp microfiber mop instead.
- Using Too Much Cleaning Solution: Adding extra cleaner won’t make your floors cleaner. Instead, it can leave behind a sticky film that attracts dust and dirt, making the floor look dull.
- Dragging Heavy Furniture: Dragging furniture across the floor can cause scratches and dents. Lift furniture whenever possible or use felt pads to protect the surface.
- Rubber-Backed Mats or Rugs: Some rubber-backed mats can react with vinyl flooring and leave permanent yellow stains. Choose vinyl-safe mats instead.
By avoiding these common cleaning mistakes and using gentle, vinyl-safe cleaning methods, you can help protect your flooring and keep it looking clean, shiny, and in excellent condition for years.
How to Maintain Vinyl Floors and Keep Them Looking New
Cleaning is only half the job. Good vinyl floor care really comes down to a few small habits that do the rest, and they’ll save you a lot of scrubbing down the road.
- Use Doormats to Prevent Dirt on Vinyl Flooring: Most dirt comes in on shoes. A mat at the door catches it before it ever touches your floor.
- Use Felt Pads to Protect Vinyl Floors from Scratches: You already picked these up earlier, so now’s the time to use them. Stick them under chair and table legs to stop scratches and dents from dragging furniture across the floor.
- Clean Spills Immediately to Prevent Vinyl Floor Stains: The longer a spill sits, the more likely it is to stain or seep into the seams. Even a few drops of water are worth wiping up fast. If you deal with spills often, or just want extra peace of mind, waterproof vinyl flooring is worth a look, it’s built to handle Singapore’s humidity even better than standard vinyl
- Avoid Steam Mops on Vinyl Flooring: The heat from a steam mop can loosen what’s holding your floor down, causing the edges to lift over time. A damp microfiber mop does the job just as well, without the risk.
- Deep Clean Vinyl Floors Every Few Months: Your regular sweep and mop handle daily dirt, but it’s worth doing a deeper clean every two to three months. If you’re wondering how to deep clean vinyl floors properly, it’s mostly the same process, just slower and more thorough. Go over the whole floor carefully, and pay extra attention to corners and high-traffic spots.
How Often Should You Clean Vinyl Floors?
| Area | Recommended Cleaning Frequency |
|---|---|
| Entrance / Hallway | Sweep daily and mop weekly due to dirt tracked in from outside. |
| Living Room | Sweep or vacuum 2–3 times a week and mop once a week. |
| Bedroom | Sweep or vacuum once or twice a week and mop every 1–2 weeks. |
| Kitchen | Sweep daily if needed and mop 2–3 times a week to remove grease and food spills. |
| Dining Area | Sweep several times a week and mop weekly or after spills. |
| Bathroom | Mop once or twice a week to remove moisture and soap residue. |
Tip: Homes with children, pets, or high foot traffic may need more frequent cleaning to keep vinyl floors looking their best.
Conclusion
Taking care of vinyl floors really comes down to a simple routine, done consistently. A quick sweep to keep grit from scratching the surface, a damp mop instead of a soaked one, and a mild cleaner instead of anything harsh. That’s most of the work right there.
The rest is just staying ahead of small problems before they turn into bigger ones. Wipe up spills before they sit too long, keep felt pads under your furniture, and skip the steam mop altogether. When a stain does show up, now you know exactly how to deal with it, without reaching for anything that could damage the floor underneath.
None of this takes special skills or expensive tools. Just a bit of consistency, and your floor will hold onto its shine for years instead of fading after a couple of seasons. It also helps to start with good quality flooring in the first place, since that plays a big part in how easy your floor is to maintain down the line.
If your vinyl floor is too worn out, scratched up, or outdated to bring back with a good clean, it might be time for a fresh start. Xin Furnishing, a trusted vinyl flooring supplier in Singapore, offers a wide range of options to fit your space and budget. Feel free to reach out if you’d like some advice on what works best for your space.
FAQs
Why Does My Vinyl Floor Feel Sticky After Mopping?
This usually happens when soap gets left behind on the floor, often from using too much cleaner or not rinsing the mop often enough. Go over the floor again with a clean, damp cloth using just water, no cleaner, and the stickiness should disappear.
Why Does My Vinyl Floor Look Dull After Cleaning?
This is often caused by cleaning products building up on the surface over time, especially wax-based ones. Switch to a mild, vinyl-safe cleaner and rinse with plain water afterwards, and the shine should come back.
Is Vinegar Safe for Cleaning Vinyl Floors?
In small, occasional amounts, yes. But using it often can slowly wear down the finish that protects your floor. A mild, vinyl-safe cleaner is the safer choice for regular use.
How Do I Remove Scratches from Vinyl Floors?
Light scratches can sometimes be buffed out with a floor-safe polish or a melamine sponge. Deeper scratches are tougher to fix at home, and you may need a professional to repair or swap out that piece of flooring.
Can I Use a Robot Mop on Vinyl Flooring?
Yes, as long as it’s set to dry mode or just a light mist. Skip settings that leave the floor properly wet, standing water can still work its way into the gaps between planks.