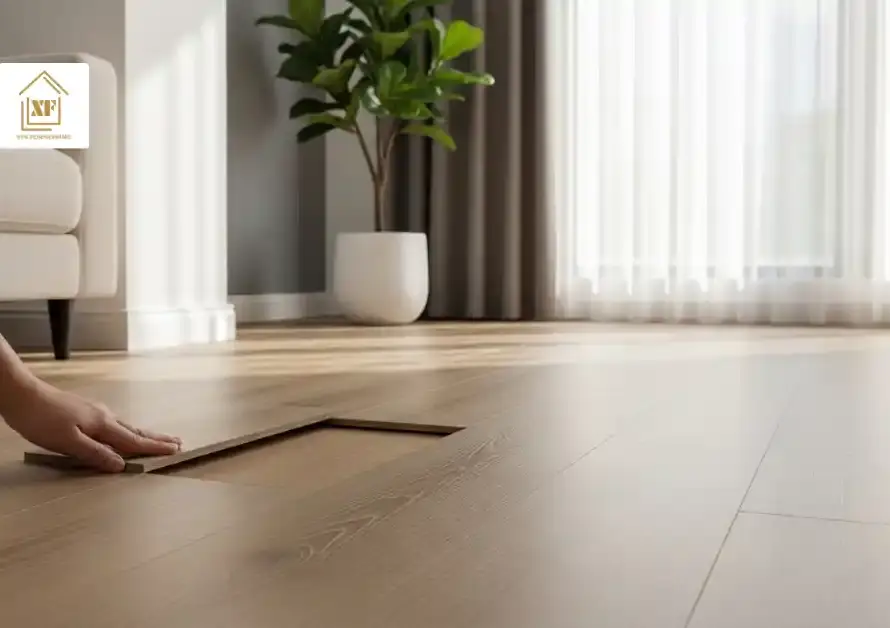
Many homeowners wonder how to remove scratches from vinyl flooring once their floors start showing signs of wear. One day, the floor looks smooth and polished; the next, small scratches catch the light, making the entire room feel worn. It’s easy to assume the damage is permanent or that replacing the flooring is the only solution.
In most cases, vinyl flooring scratches can be fixed at home with simple tools, patience, and the right techniques. Even deeper marks can often be blended or repaired, restoring the floor’s smooth, polished appearance without the cost or hassle of replacement.
This guide shows how to identify different types of scratches, repair them safely, and prevent future damage, helping your floors stay well-maintained and beautiful for years.
Types of Vinyl Floor Scratches and How to Repair Them
Before tackling scratches, it helps to know what kind you’re dealing with. Identifying the type makes it easier to choose the right vinyl flooring scratch repair method and prevents the damage from getting worse.
Light Surface Scratches
- Looks like faint, dull lines on the vinyl’s top layer.
- Often caused by dirt, shoes, or small items brushing across the floor.
- Usually easy to fix with gentle cleaning and polishing.
Medium Scratches
- Slightly deeper and may catch the edge of a fingernail.
- Commonly caused by dragging furniture, pet claws, or minor impacts.
- Can be smoothed out using vinyl floor scratch repair polish or gentle heat to blend the scratch with the surrounding area.
Deep Scratches
- Go through the surface, and it may appear darker than the rest of the floor.
- Often caused by heavy furniture, dropped objects, or accidents.
- Require a vinyl repair kit with filler, colourant, and sealant to restore the floor seamlessly.
Examine scratches in bright light to gauge their depth. Knowing whether it’s light, medium, or deep will save time and make the repair more effective.
How to Fix Light Scratches on Vinyl Flooring
Light scratches are the easiest to deal with, and most of the time, they respond well to simple cleaning and gentle polishing. Here’s how to tackle them effectively:
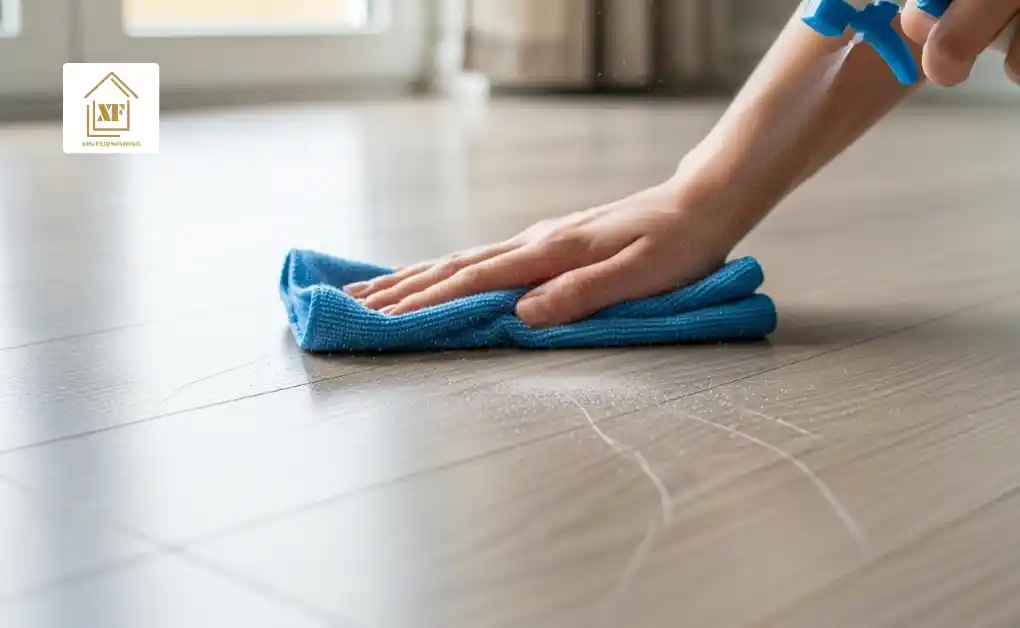
1. Clean the Surface
Start by removing any dirt or debris around the scratch. Use a soft cloth with warm water and gently wipe the area. Avoid harsh chemicals or abrasive cleaners, as they can damage the vinyl. Once cleaned, make sure the surface is completely dry before moving on.
2. Apply a Gentle Polish or Paste
Use a vinyl-safe polish, or make a small paste with baking soda and water. Apply just a little directly onto the scratch; there’s no need to overdo it. This helps smooth the surface and reduce the visibility of minor marks.
3. Buff Carefully
Take a microfiber cloth and rub the polish or paste in small, circular motions. Keep checking the scratch as you go, and stop once it starts blending with the surrounding floor.
Light scratches can sometimes fade entirely after a few careful applications. Be patient, and avoid over-polishing, as too much product can leave a residue.
How to Fix Medium Scratches on Vinyl Flooring
Medium scratches are a bit deeper than surface marks, so they need a little more care, but most can still be repaired at home without professional help.
1. Clean the Area Thoroughly
Remove dust, grit, or debris around the scratch using a soft broom or vacuum. A clean surface helps the repair work properly and prevents dirt from causing additional scratches.
2. Apply Gentle Heat
Use a hair dryer on a low setting to slightly warm the vinyl. Keep the dryer moving and don’t hold it too close, or the floor could warp. The gentle heat helps relax the vinyl, making it easier to blend the scratch.
3. Use Vinyl-Safe Polish or Wax
Apply a thin layer over the scratch. Using a microfiber cloth, rub in circular motions until the scratch begins to blend with the rest of the floor.
4. Repeat if Needed
Some scratches may take two or three applications to fade completely. Always test on a hidden area first to make sure the polish doesn’t change the floor colour.
How to Repair Deep Scratches on Vinyl Flooring
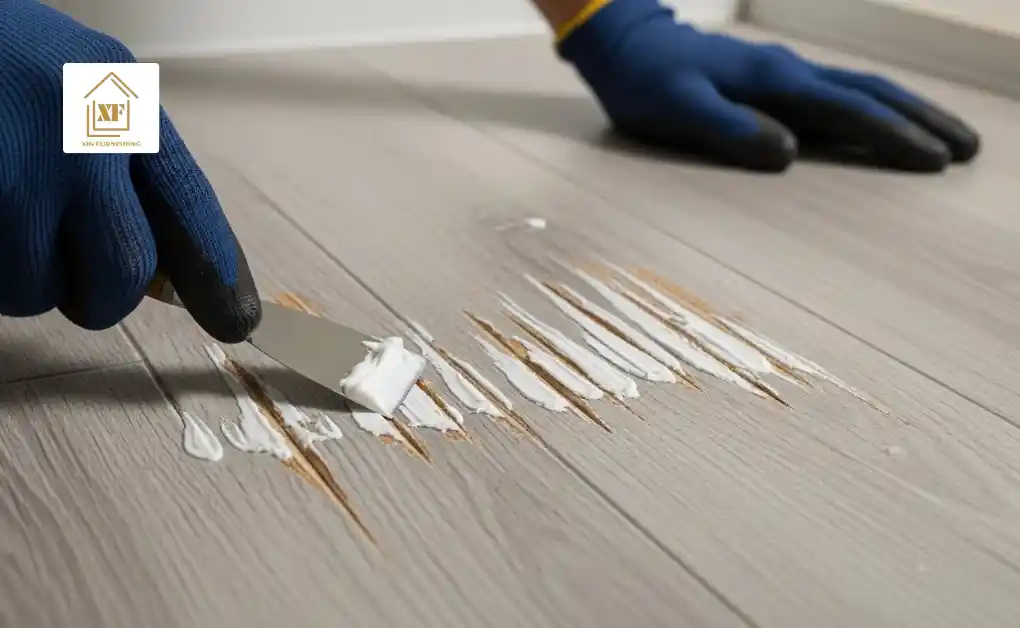
Deep scratches through the vinyl’s surface layer require more effort to fix.
- Choose the Right Repair Kit: Most vinyl repair kits include filler, colourant, and a clear sealant. Pick one that matches the floor’s colour and texture for natural results.
- Clean the Scratch Thoroughly: Remove all dust and debris to make sure the filler adheres properly.
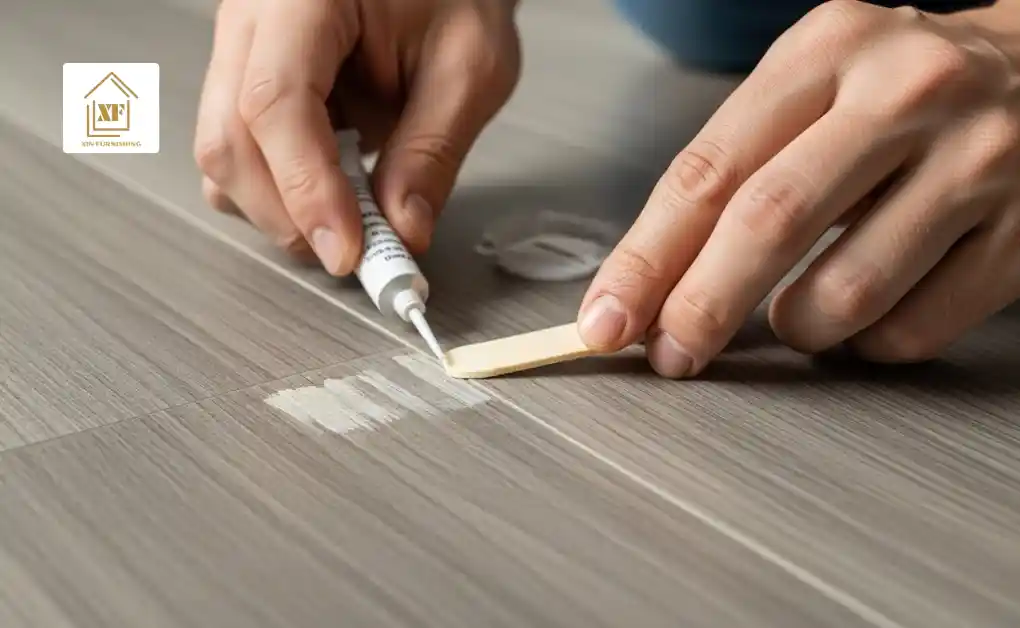
- Apply the Filler: Use a plastic spatula to fill the scratch evenly, smoothing out excess.
- Match the Colour: Add colourant gradually to blend with the surrounding vinyl.
- Seal the Repair: Finish with the included clear sealant and allow it to dry completely before walking on it.
Rushing any step can leave noticeable marks. Taking your time helps achieve a seamless repair.
Blending and Restoring Shine on Vinyl Flooring
Once scratches are repaired, restore the floor’s shine so the repair blends naturally:
- Apply a Thin Layer of Floor Restorer – Use a vinyl-safe product for an even finish.
- Let It Dry Completely – Avoid walking on the area until fully set.
- Buff for a Polished Finish – Use a microfiber cloth for smooth results.
For older floors or multiple minor scratches, consider repeating this process every few months to maintain a polished look.
Common Mistakes to Avoid When Fixing Vinyl Floor Scratches
Even careful repair can go wrong. Avoid:
- Abrasive materials like steel wool.
- Harsh chemicals like bleach or ammonia.
- Over-polishing or over-applying filler.
- Skipping proper cleaning before repair.
Following these tips make sure your vinyl flooring scratch repair is effective, and your floor stays smooth.
How to Prevent Future Scratches on Vinyl Flooring
Once scratches are fixed, prevention is key, especially in homes with vinyl flooring in Singapore, where frequent foot traffic and outdoor grit can wear down the surface more quickly.
- Use felt pads under furniture to prevent new marks.
- Add rugs or mats in high-traffic areas.
- Lift instead of drag furniture.
- Keep floors clean by sweeping or vacuuming regularly.
- Trim pets’ nails to avoid scratches.
Simple habits and regular maintenance play a big role in keeping vinyl flooring smooth and long-lasting. Small changes like these go a long way in protecting scratch-resistant vinyl flooring and helping it look new for longer.
When It’s Time to Call a Professional
If scratches cover large areas, are deep, or the floor’s finish is worn, professional help may be needed. Experts have the right tools to restore scratched vinyl floors evenly, saving time and avoiding costly replacements.
Conclusion
Scratches on vinyl flooring don’t have to be permanent. Light scratches can fade with gentle cleaning, medium scratches can be blended using vinyl floor scratch repair, and deep scratches can be restored with repair kits or professional help. Understanding the type of scratch and adopting preventive habits, such as felt pads, rugs, lifting furniture, and keeping floors clean, will keep your vinyl flooring smooth, polished, and welcoming for years. Whether you have stone vinyl, wood vinyl, or general vinyl flooring, proper care keeps your floors scratch-free and beautiful.
FAQs
1. Do vinyl floors scratch easily?
Vinyl floors have a protective wear layer, but thinner or older options can show scratches from heavy furniture, grit, pets, or high foot traffic. Choosing thicker or higher-quality vinyl can reduce the risk.
2. Can household items like a tennis ball or eraser help remove scratches?
Yes! Very light scratches can often be buffed out using a clean eraser or the surface of a tennis ball before applying polish. This is a quick, low-cost way to improve the appearance of minor marks.
3. What products work best to make scratches less noticeable?
Vinyl scratch concealers, vinyl-safe polish, paste wax, or repair kits with color-matching compounds are the most effective. They help fill scratches and blend them with the surrounding floor for a seamless look.
4. How long does it take to repair a scratched vinyl plank?
For light and medium scratches, DIY repairs usually take 15–30 minutes. Deep scratches may take longer, as you need extra time for filling, color matching, and allowing sealants to dry fully.
5. Will repairing scratches damage my vinyl floor’s finish?
Not if you use gentle, vinyl-safe products and follow the correct techniques. Avoid harsh chemicals, abrasive scrubbers, or excessive polishing to keep the floor’s finish intact.